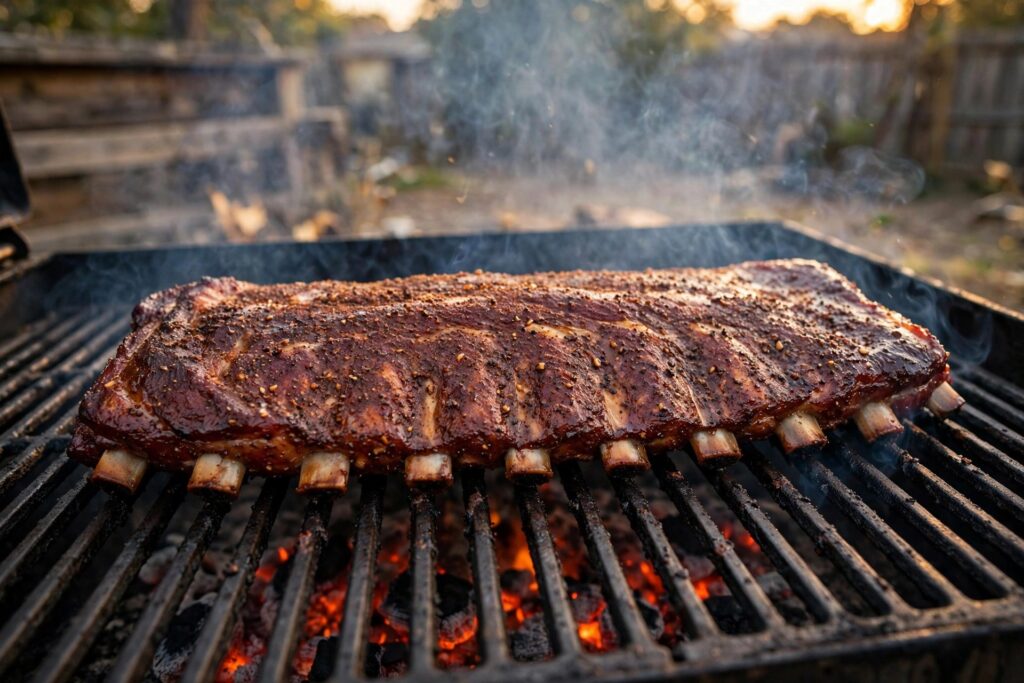
Put ribs on the smoker bone-side down, meat-side up. The curved bones act as a natural rack, lifting the meat off the hot grates so the rub and bark stay intact. The bones also shield the underside from direct heat, so the meat cooks evenly and the bottom does not dry out.
It sounds like a detail only a competition cook would obsess over, but this single placement choice shapes your bark, your seasoning, and how cleanly the ribs release at the end. The only time you intentionally flip them is the wrapping stage — and even then, it is for a specific reason.
Here is the full picture: why bone-side down works, the one stage where meat-side down is correct, how placement changes on a grill or in a rib rack, and the mistakes that quietly ruin a rack’s crust.
The Short Answer: Bones Down on the Smoker
Walk up to any seasoned pitmaster’s cooker, open the lid, and you will see the same thing: ribs lying bone-side down, meat-side up. It is the closest thing to a universal rule in rib cooking, and it is not tradition — it is physics.
A rack of ribs is curved. Laid bone-side down, the arch of the bones holds the meat slightly above the grate, with air flowing underneath. That small gap does three jobs at once: it keeps the seasoned meat from sticking to the hot metal, it protects the developing bark from getting torn off, and it puts a layer of bone between the heat source and the meat. As barbecue writer Scott Thomas told Tasting Table, putting meat-side down lets the seasoning in the middle of the rack stick to the grate — “the bark will not be great right there.”
Why Bone-Side Down Works: Three Reasons
1. It protects the bark. Bark forms from the Maillard reaction between your rub, rendering fat, and smoke. It needs heat and air on the meat’s surface, and it needs to stay attached. Meat-side down presses that surface into the grate. Seasoning welds to hot metal, crust tears when you move the rack, and you end up with bald patches that never recover. Bone-side down keeps the money side untouched.
2. The bones act as a heat shield. On most smokers — offsets, kettles, pellet grills, bullets — the heat comes from below. The bones sit between that heat and the meat, slowing the cook on the underside and preventing the bottom from drying out or scorching before the top is done. That shielding is part of why ribs can ride at 250°F for hours without the bottom turning to jerky.
3. The rack stays stable. Curved bones create three or four natural contact points, so the rack sits flat and steady. A rack laid meat-side down on its rounded top tends to wobble, and every wobble is a chance to smear rub and tear forming bark.
The One Stage Where Meat-Side Down Is Correct
Here is the exception every rib recipe relies on but few explain: the wrap.
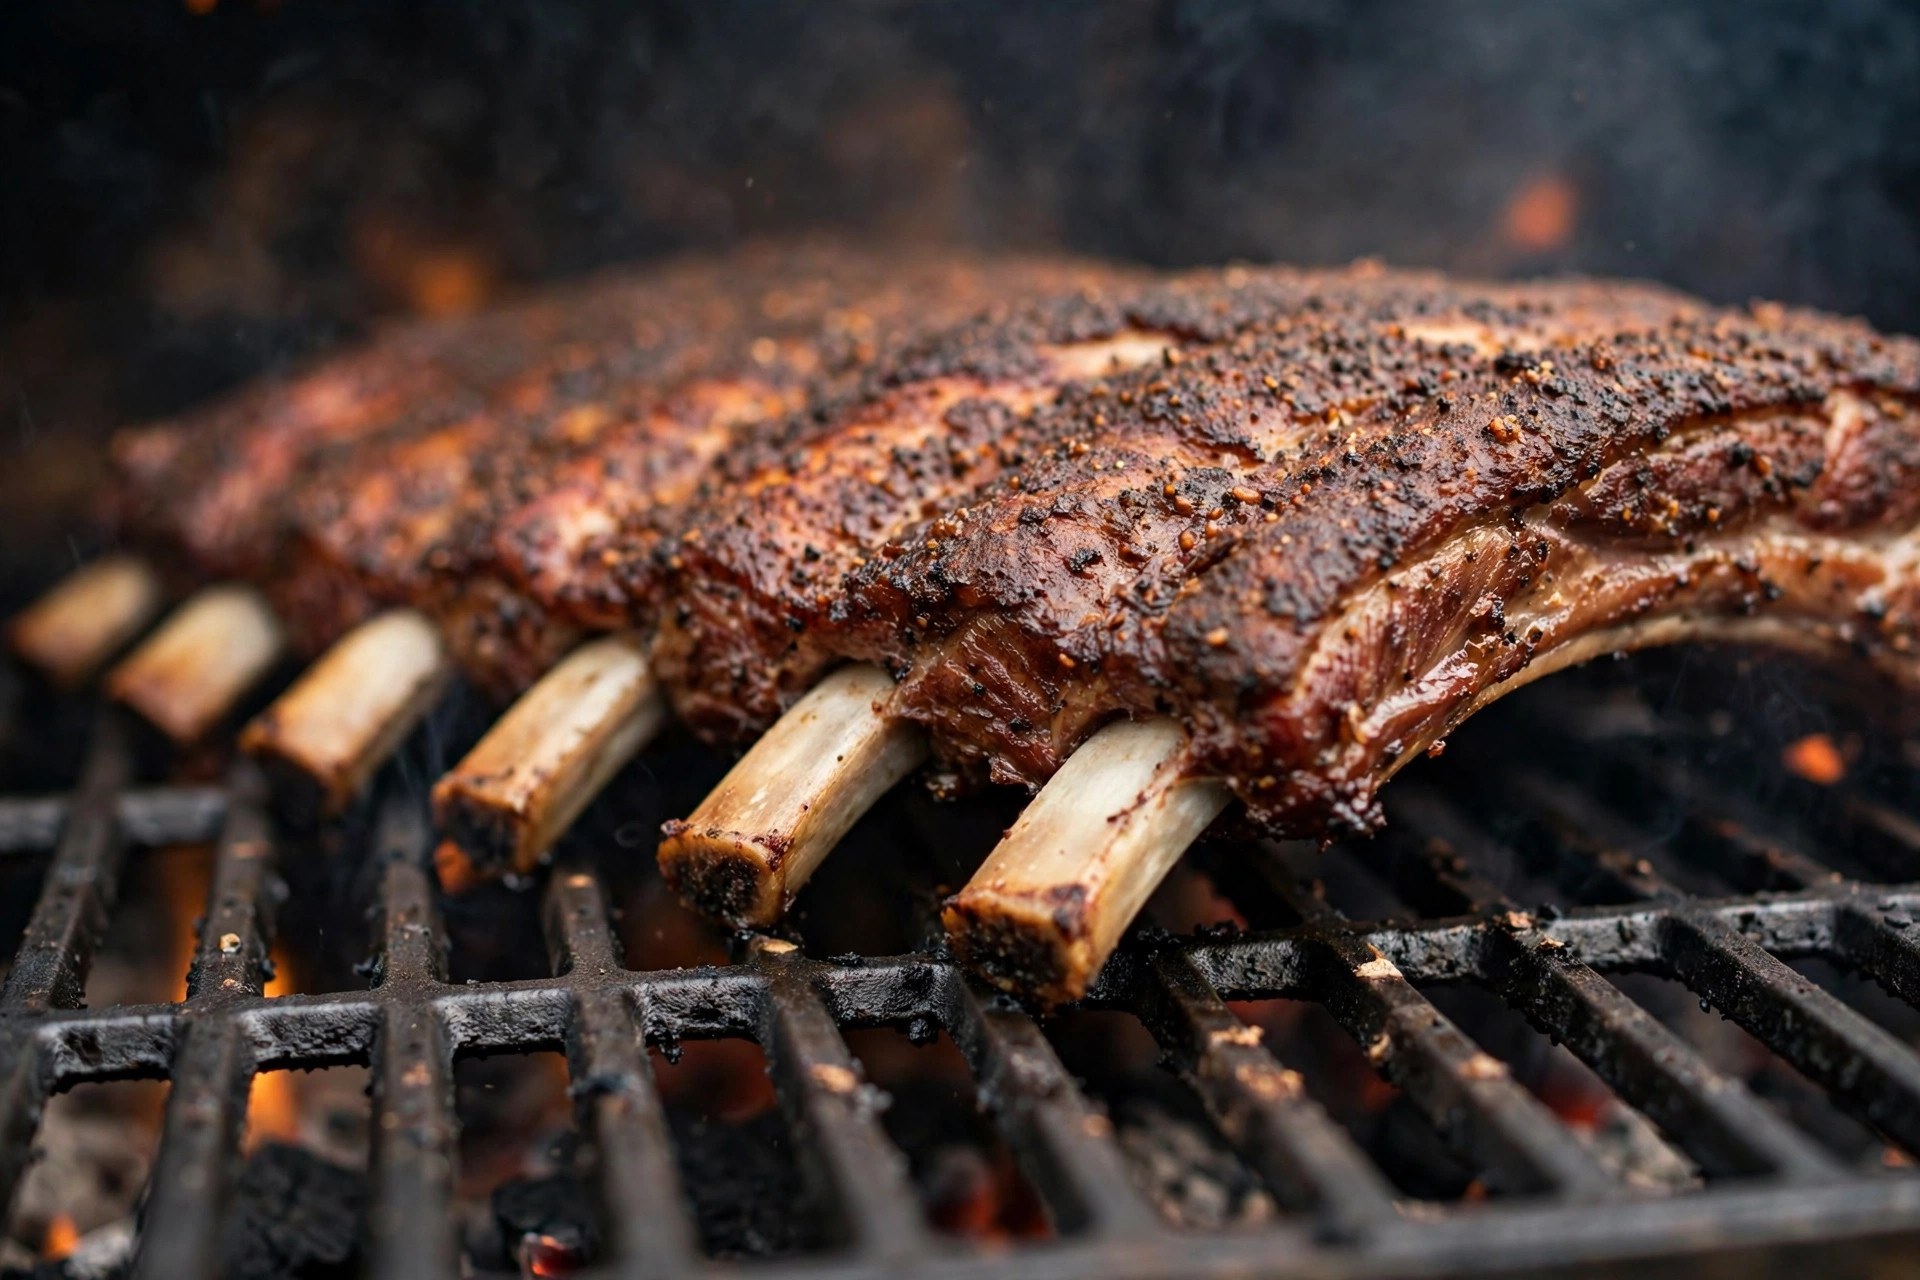
In methods like 3-2-1, the ribs come off the smoker after a few hours, get laid onto a sheet of foil (or butcher paper) with butter, honey, brown sugar, and a splash of apple juice — and go back on meat-side down, into the braising liquid. This is deliberate. The meat side sits in the pool of juices, butter, and sugar, and the wrap steams everything together for the tenderizing stage.
The logic flips here because the goals flipped. During the open smoke, you want air and heat on the meat to build bark. During the wrap, you want the meat swimming in hot liquid to break down collagen. Bones-down would leave the meat side high and dry above the juice — the exact opposite of what the wrap is for.
A proven wrap juice for one rack: ¼ cup apple juice, ¼ cup of your favorite BBQ sauce, 3–4 pats of butter, and a tablespoon each of brown sugar and honey, warmed until the butter melts. Pour it into the foil before the ribs go in, then seal the packet tight — multiple folds on every edge. Wrapped ribs go back on at the same 225–250°F and stay there about 90 minutes for baby backs, 2 hours for spares, until the internal temperature reads 195–203°F and a probe slides in like soft butter.
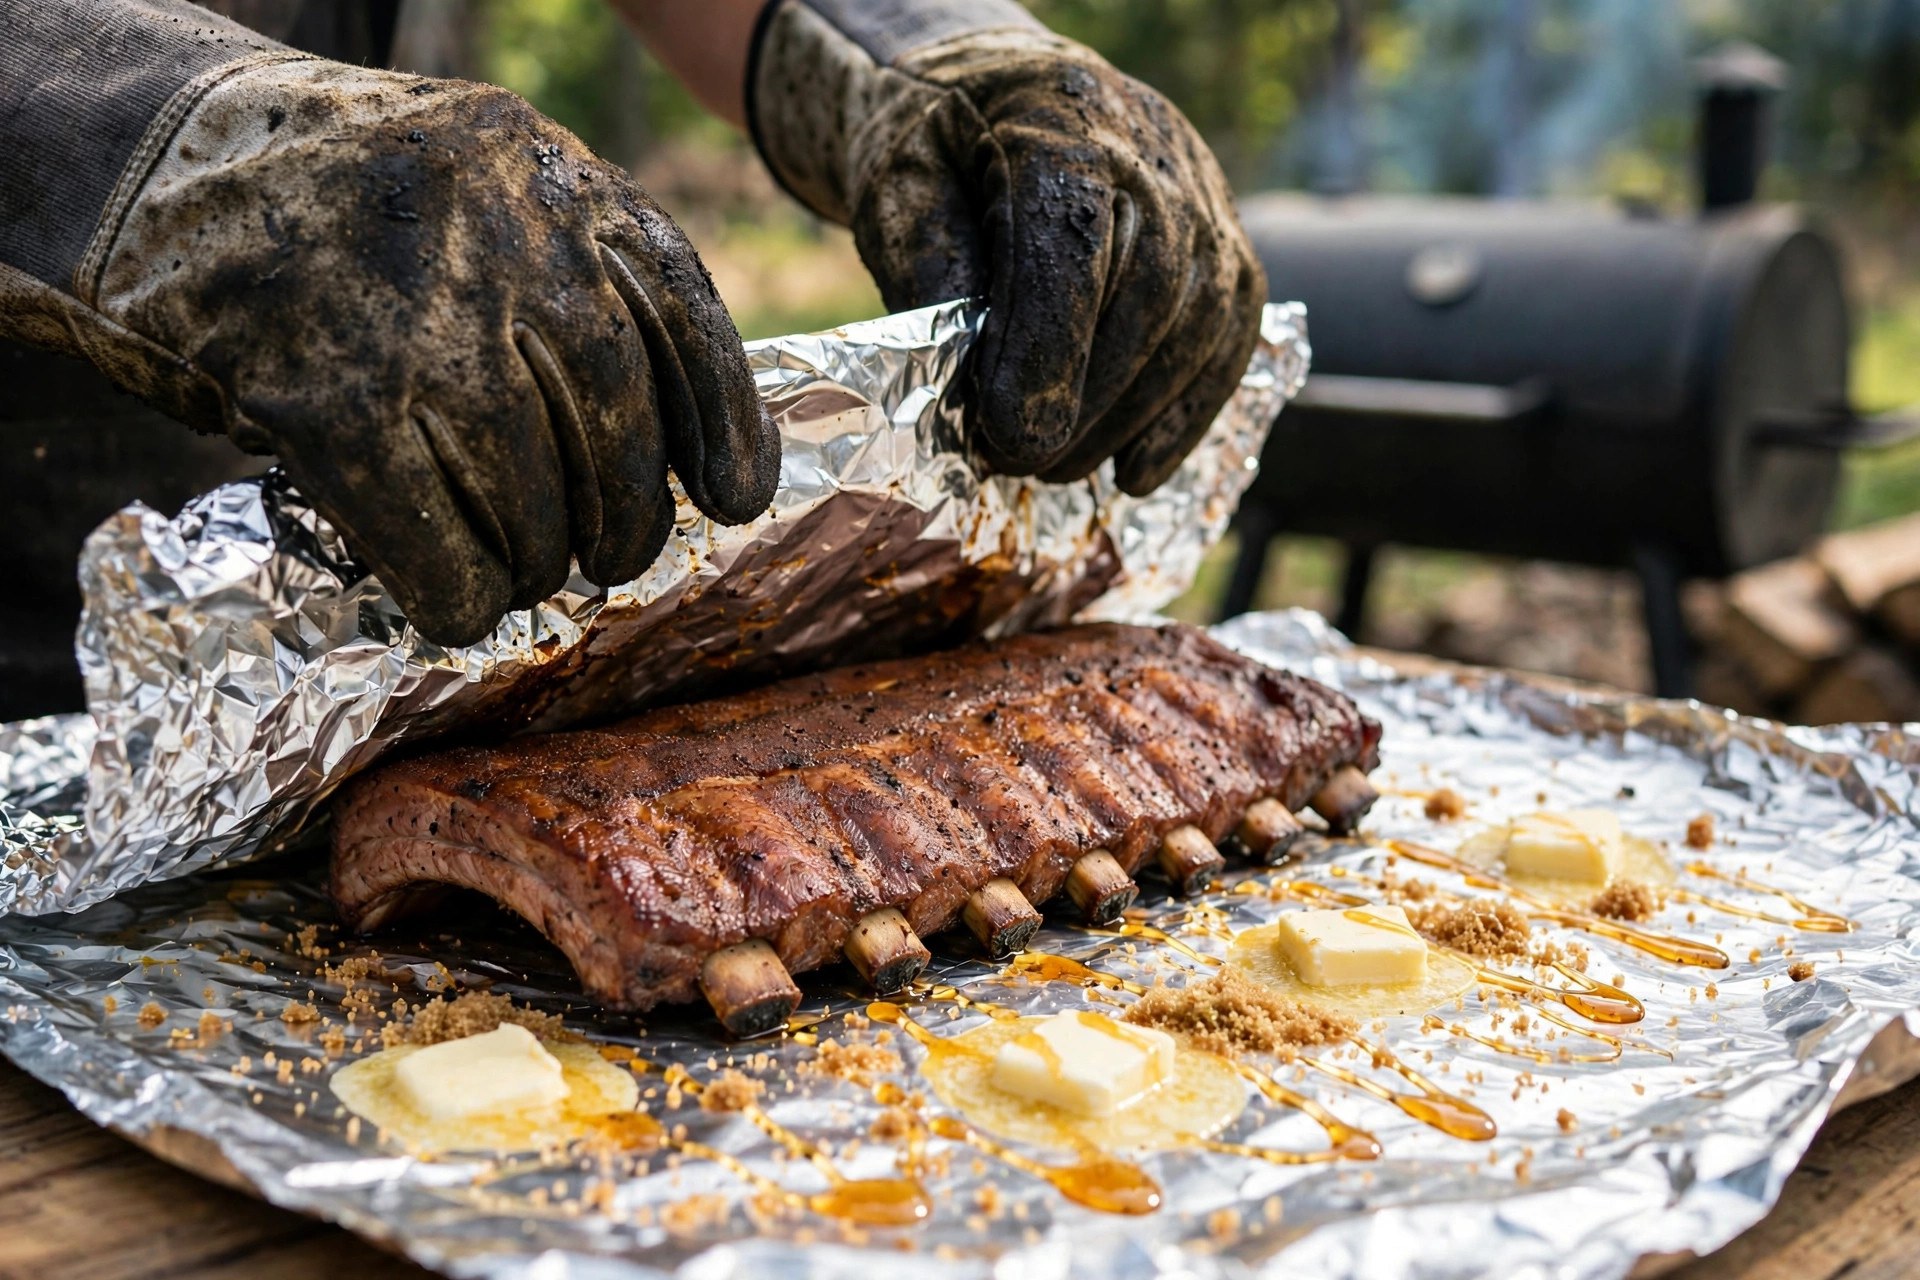
When the wrap comes off, flip the ribs back to bone-side down for the final unwrapped hour. That last stretch re-firms the bark and lets sauce set. Bone up, bone down, bone down — that is the rhythm of a full 3-2-1 cook. Our full 3-2-1 guide walks the timing rack by rack.
Ribs Orientation at Every Cook Stage
If you remember one chart, make it this one:
| Cook stage | Orientation | Why |
|---|---|---|
| Open smoke (first 2–3 hrs) | Bone-side down | Bark builds on the untouched meat side; bones shield from heat below |
| Wrapped (1.5–2 hrs) | Meat-side down | Meat bathes in the braising juices inside the foil |
| Finish (30–60 min unwrapped) | Bone-side down | Bark firms up; flip bone-up only to brush sauce on both sides |
| Rest (10–30 min) | Either — tent loosely | Orientation no longer matters once off the heat |
One practical tip for the flip back to bone-down after wrapping: have your tongs and a second sheet of foil or a tray ready before you open the wrap. A rack fresh out of foil is at its most fragile — the bones want to pull free and the meat is soft enough to tear. Slide a wide spatula or two tongs underneath and move it in one motion. This is also why you plan your rack count around how much working room you have.
Does It Matter on a Grill vs. a Smoker?
The bones-down rule holds on any cooker where heat comes from below: offset smokers, kettle grills, pellet grills, and kamados. On a charcoal or gas grill set up for indirect heat, the same logic applies — ribs over the cool zone, bone-side down, lid closed, 225–250°F.
Two setups change the picture. On a vertical smoker where the heat source sits directly beneath a short distance away, bones-down matters even more — that bone layer is the only buffer the meat gets. In a rib rack (the metal stand that holds racks upright on edge), orientation is vertical by design, and the rule simply becomes: membrane/bone side toward the back of the cooker, meat side toward the front or heat, rotating halfway if one side runs hotter.
What about direct grilling, hot and fast over the flames? Here ribs need frequent turning anyway, and the bones-down start still applies for the first few minutes to protect the rub. After that, flip and rotate every 5–10 minutes so neither side scorches. Hot-and-fast rib grilling is really a different dish — closer to Korean galbi than to barbecue — and it trades bark development for char.
On a gas grill, the bones-down rule pairs with a two-zone setup: burners lit on one side only, ribs bone-down on the unlit side, lid closed. The bones still do their shielding work, and you can drop wood chips in a smoker box over the lit burner for a light smoke flavor. Whatever the cooker, if you are unsure which side is which, look for the membrane you just peeled — that flat, ribbed side is the bone side, and it faces down.
Mistakes That Ruin the Crust
- Starting meat-side down “to sear the meat.” Ribs are not steaks. The surface facing the grate loses its seasoning to the metal and never develops proper bark on that side.
- Flipping too often. Every turn risks tearing bark before it sets. Set them bone-down and leave them alone until the wrap.
- Wrapping with the wrong side down. Bones-down inside the foil leaves the meat above the braising juice — half the point of wrapping, lost.
- Saucing the bone side first. Sauce goes on the meat side in the last 15–20 minutes. Sauce on the bone side just burns on the grate.
- Skipping the membrane removal. That silverskin on the bone side blocks smoke and seasoning from below and turns papery when cooked. Peel it with a paper towel before the ribs ever touch the cooker.
A light spritz of apple juice once the bark sets — usually around hour 2 — helps smoke cling without washing off the rub. And one detailed rib walkthrough worth bookmarking turns the ribs bone-side up just for saucing, then right back over — the same rhythm this article lays out.
Frequently Asked Questions
Do you smoke ribs bone-side up or down?
Bone-side down, meat-side up. The curved bones lift the meat off the grates, protect the rub and bark from sticking to the metal, and shield the underside from direct heat. This is the standard placement in virtually every pitmaster’s rib method.
When do you put ribs meat-side down?
Only during the wrap. When you foil ribs with butter, honey, and juice, place them meat-side down so the meat sits in the braising liquid. Flip back to bone-side down when the wrap comes off for the final hour.
Does flipping ribs halfway through the smoke help?
No — leave them alone. Flipping risks tearing the bark before it sets, and the bones already shield the underside from the heat. The only flips in a rib cook are the wrap and the unwrap.
How do you place ribs in a rib rack stand?
Stand them on edge with the bone side toward the back of the cooker and the meat side facing the heat, spaced so air flows between racks. Rotate the stand 180° halfway through if your cooker runs hotter on one side.
Should you remove the membrane before smoking ribs?
Yes. The membrane on the bone side blocks smoke and rub from reaching the meat from below, and it cooks up tough and papery. Loosen a corner with a butter knife, grip it with a paper towel, and pull it off in one sheet.
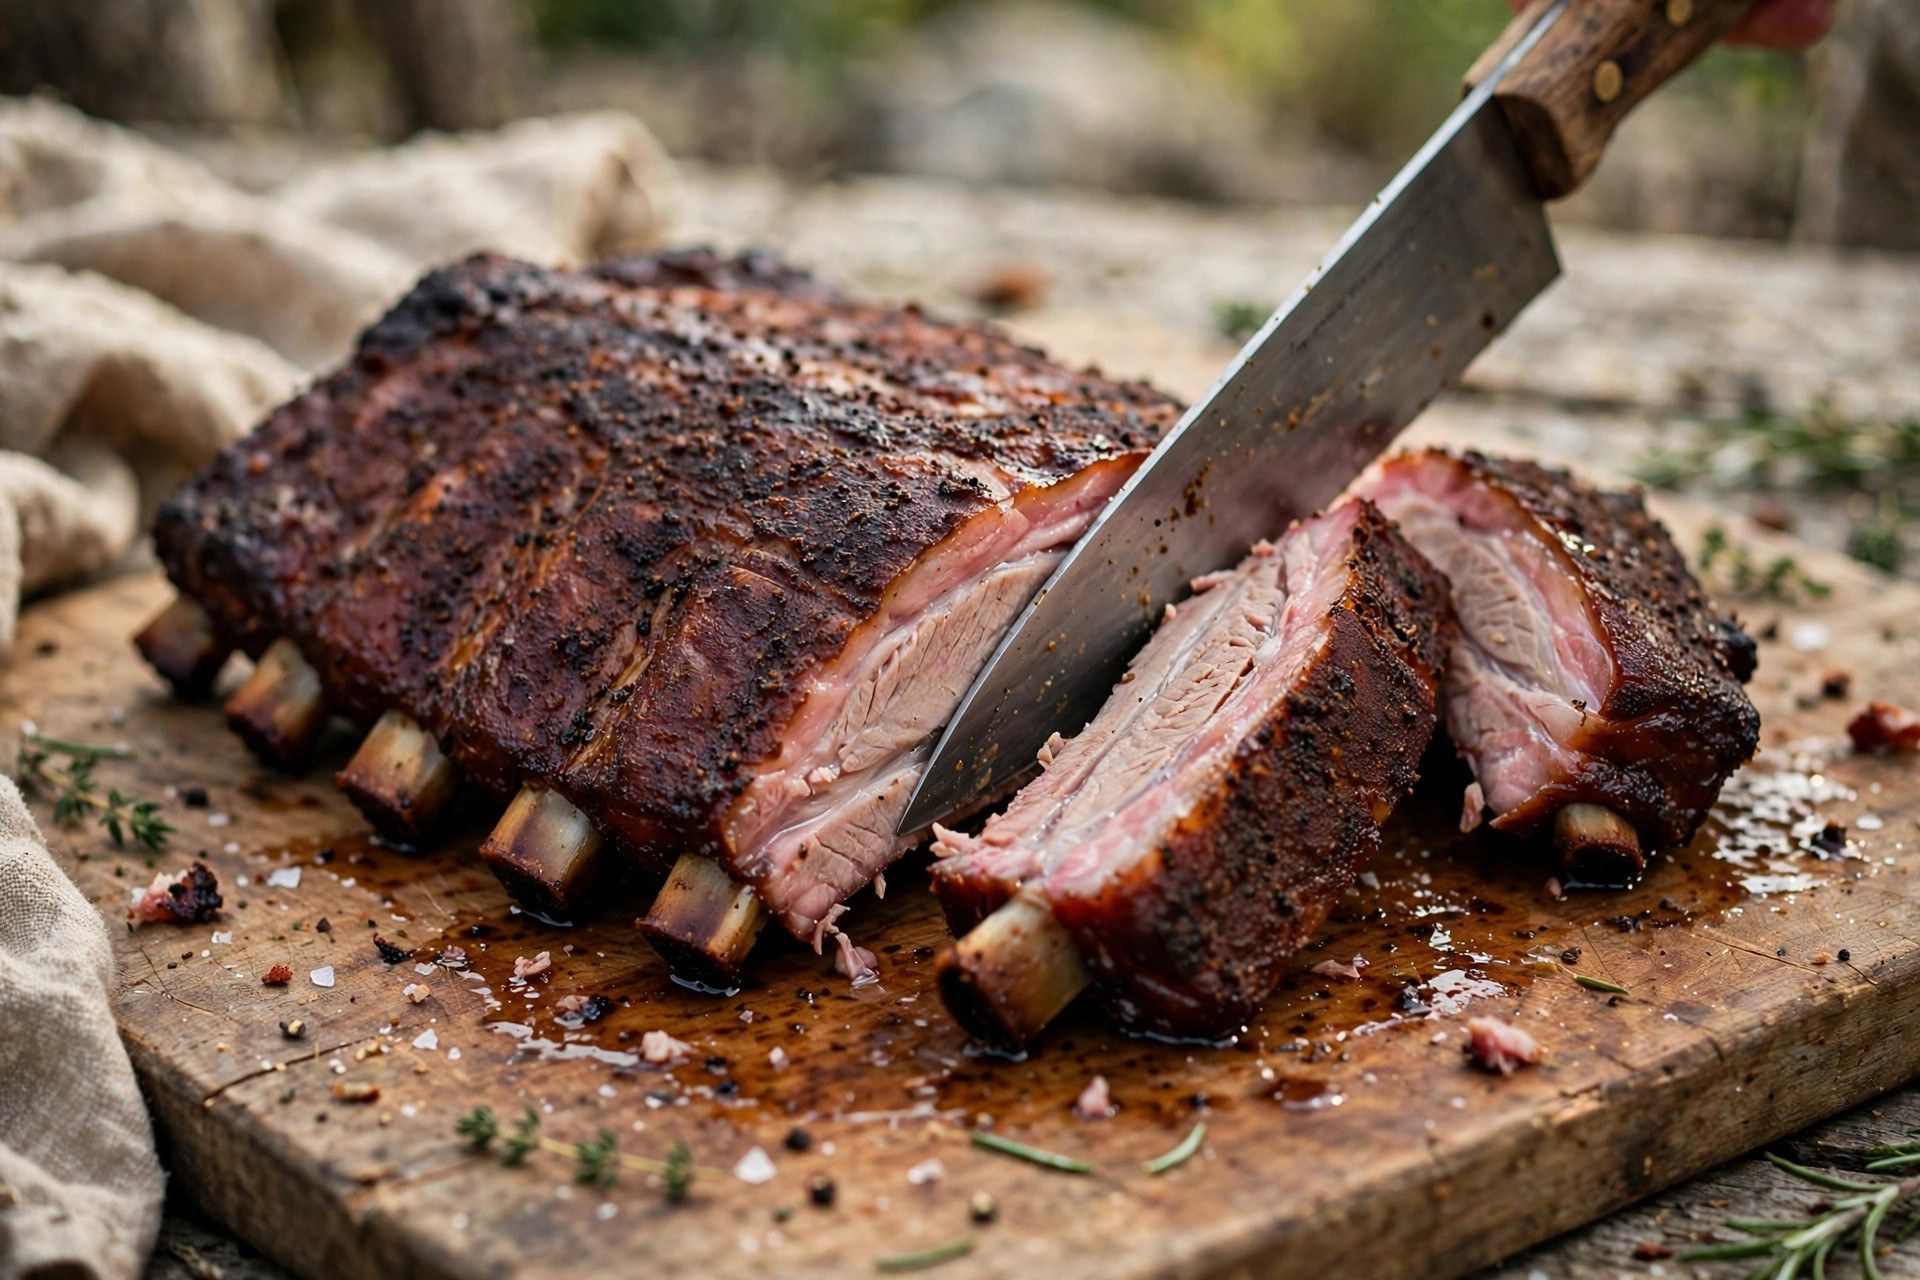
Once the ribs clear 195°F internal and the bend test shows the surface cracking as you lift a third of the rack with tongs, pull them off and tent loosely with foil. A 10–30 minute rest lets the juices settle so they stay in the meat when you slice — cut between the bones with a sharp knife, and you are eating proof that placement matters.
So for your next cook: membrane off, rub on, ribs on the smoker bone-side down, lid closed, and hands off until wrap time. If you are new to the whole process, skip the pre-boil shortcut, learn to read your smoke, and check how to tell when ribs are done — orientation is one piece, and the rest is patience.