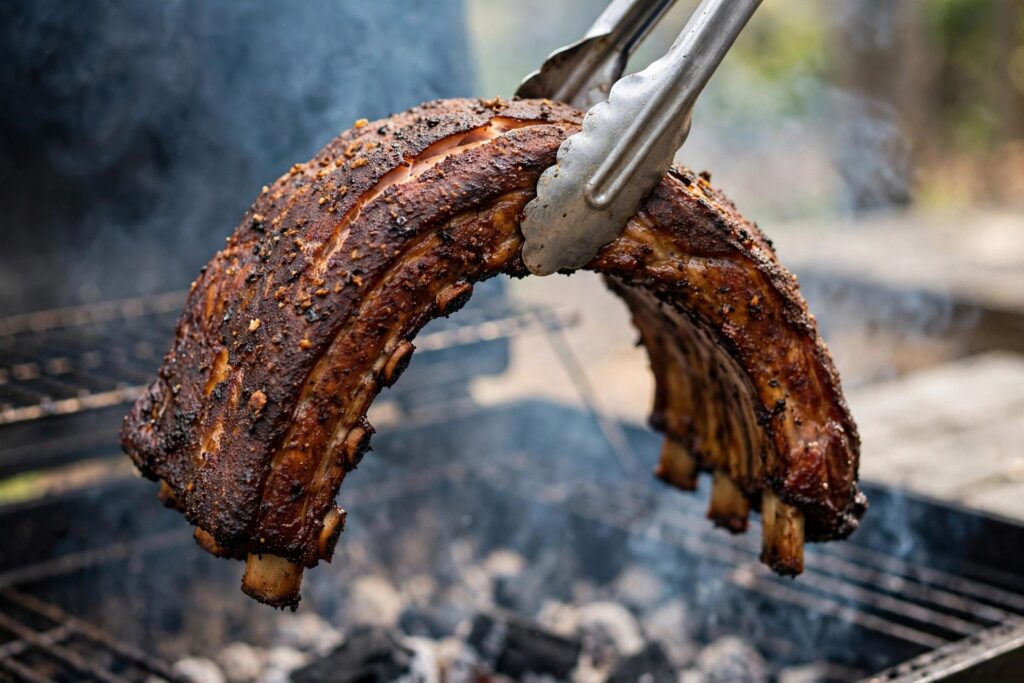
Pick up the rack of ribs with tongs from the center. If it bends into a soft U-shape and the bark cracks lightly without tearing, the ribs are done. Thermometers struggle with ribs because the meat is thin and readings bounce around between bones — so pitmasters judge doneness by feel: the bend test, the toothpick test, and bone pullback. Together, these three cues beat any number on a display.
There’s a reason the old hands reach for tongs instead of a thermometer. On a thick pork butt, a probe lands in two inches of meat and gives you a clean reading. On a rack of ribs, you’re trying to hit a thin strip of meat between two heat-conducting bones, and moving the probe a half inch changes the answer by ten degrees. Feel tests cut through that noise.
This guide covers the four reliable ways to tell ribs are done without a thermometer, the exact visual cues to look for, when to start testing, and how to rescue racks that go too far in either direction.
Why Thermometers Struggle With Ribs
It’s worth understanding why the feel tests exist, because it keeps you from trusting a bad reading. A rib rack is mostly bone with thin ribbons of meat draped between the bones. Probe that meat and three things conspire against you: the meat is barely thick enough for the probe’s sensing tip, the bones conduct heat and skew the reading, and different ribs on the same rack cook at slightly different rates.
The result: probe one spot and get 185°F, move two inches and get 198°F. Which one’s right? Both, technically. Neither tells you the rack is done. What you’re really asking isn’t “what temperature is this meat” — it’s “has the collagen melted enough for the meat to bite clean.” That’s a texture question, and texture is judged by touch, not temperature.
None of this means thermometers are useless around ribs. A thin instant-read probe is still handy for knowing when to start testing — around 185–190°F in the thickest meat between bones, it’s time to pick up the tongs. Just let feel make the final call.
The Bend Test: Your Primary Method
The bend test is the single most trusted doneness check in barbecue, credited to legends like Meathead Goldwyn of AmazingRibs.com. It takes two seconds and tells you everything. Here’s how to do it right:
- Grip the rack near the center with a pair of long tongs, clamping along the rack’s length — not at one end. Lifting from the end gives you a false read.
- Lift the rack 6–8 inches off the grate and let the ends hang. Watch how the slab responds.
- Read the bend. Done ribs sag into a soft U-shape and the bark surface shows a light crack where the meat flexes. The slab holds together — it doesn’t tear or collapse.
Three outcomes, three meanings:
- Stays stiff, barely bends — undercooked. The collagen hasn’t melted yet. Give it another 15–30 minutes and test again.
- Bends in a U with a light surface crack — done. Pull it off the heat.
- Folds on itself, meat splits or falls off the bone — overcooked. It’s past competition-style tender and into mushy.
The crack is the detail beginners miss. You’re looking for a fine split in the bark’s surface — not the meat breaking apart. A small crack means the surface has softened enough to flex but the structure still holds. As one detailed breakdown of the test puts it, a done rack forms a soft U and shows light cracking without tearing, while a stiff rack needs more time and a floppy one is past tender.
One caveat: the bend test is designed for pork ribs — baby backs, spares, and St. Louis style. Beef ribs are too thick and meaty for it; with those, probe tenderness near 200–203°F is the standard.
The Toothpick Test: Your Confirmation
The bend test tells you how the whole rack behaves. The toothpick test — also called the skewer test — tells you what’s happening between the bones, which is where the meat is thickest and slowest to finish.
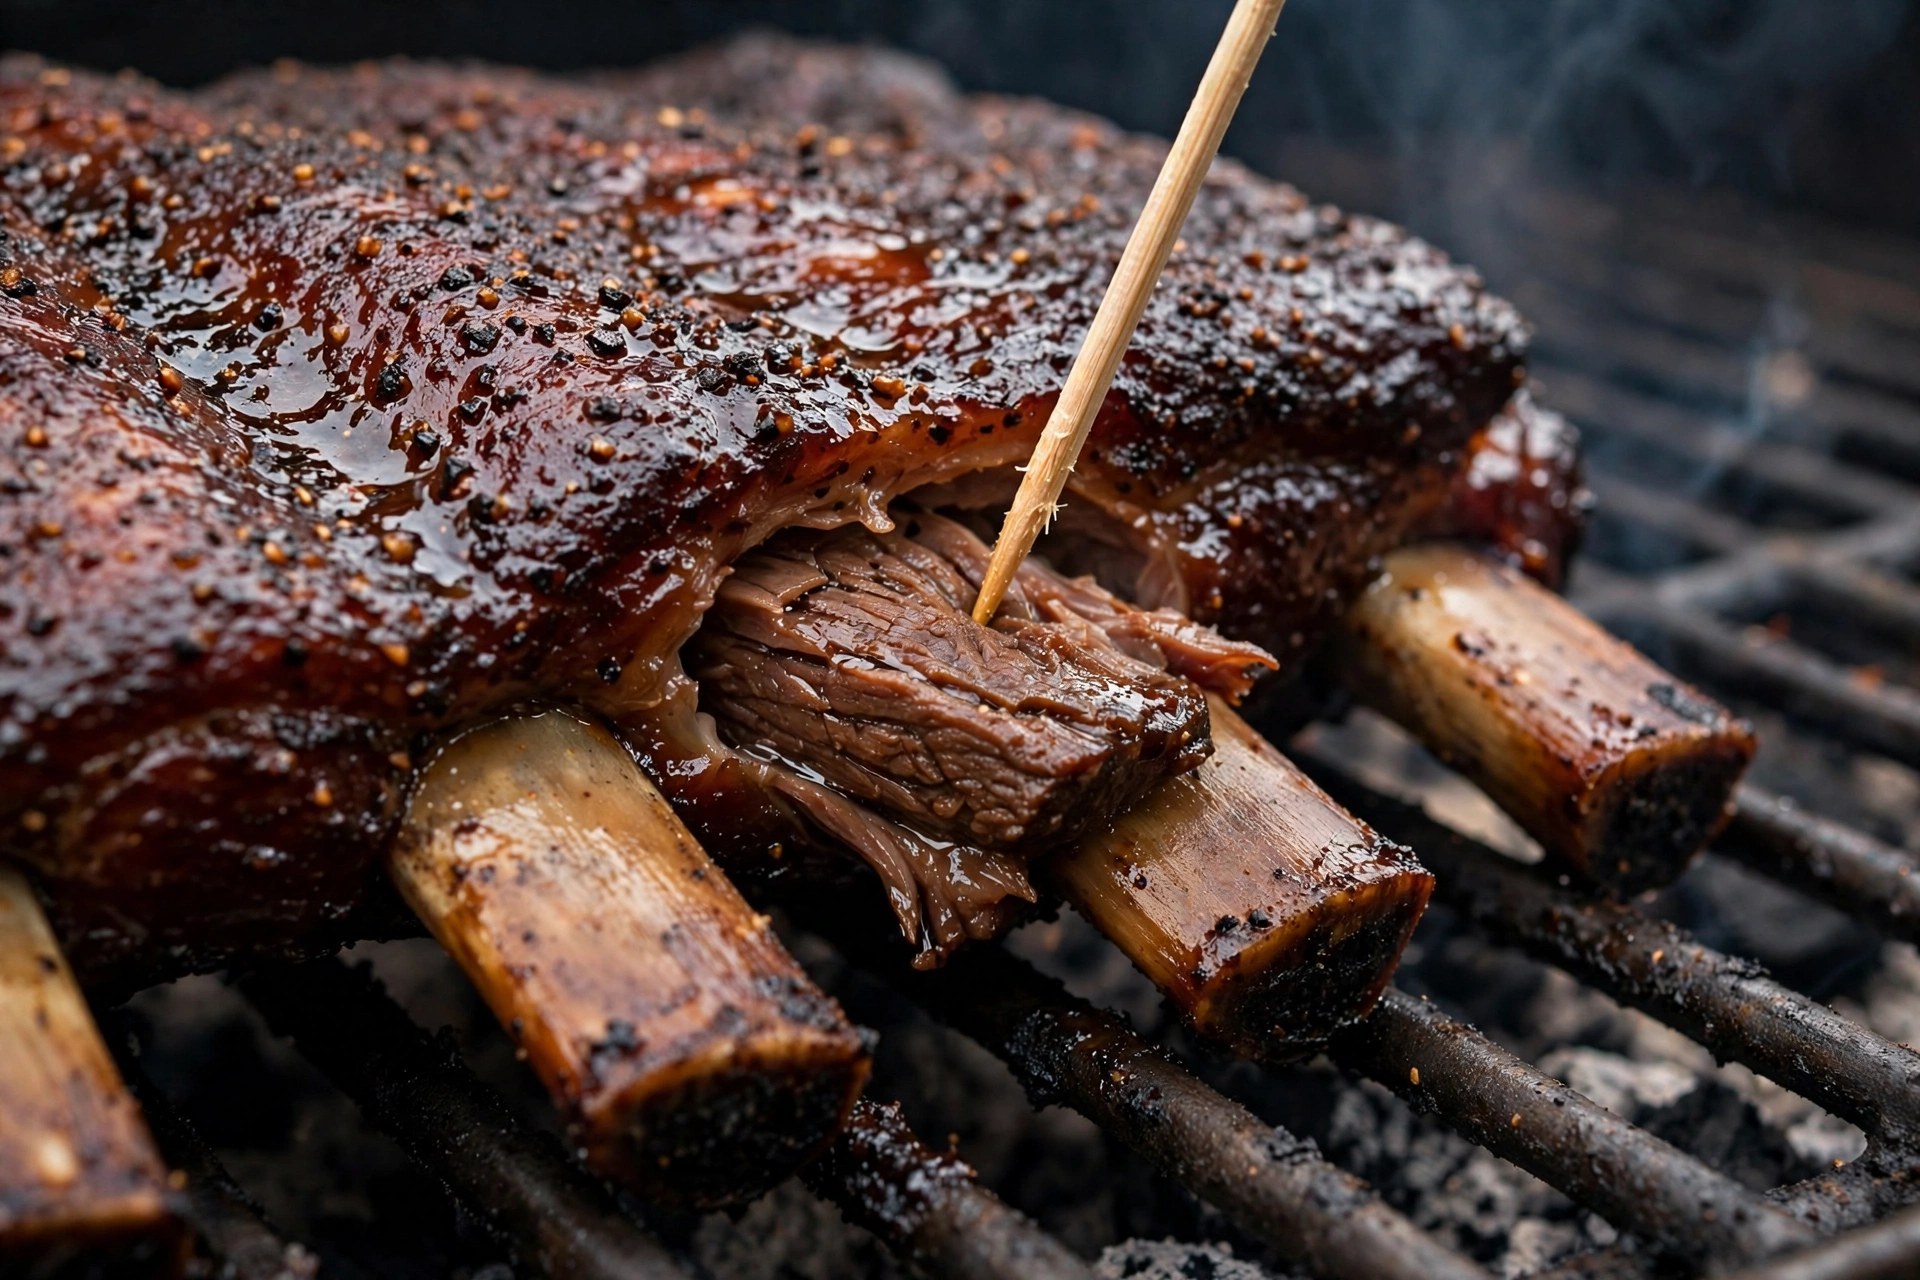
Take a wooden toothpick or a thin skewer and push it into the meat between two bones, right in the meatiest part of the rack. When ribs are done, the skewer slides in with almost no resistance — like pushing it into room-temperature butter. If you feel the skewer pushing through tight, springy muscle, the ribs need more time.
Test three or four spots along the rack, because thickness varies. The thin ends finish first; the thick center lags behind. One soft spot doesn’t mean the whole rack is done — but one tough spot means it isn’t.
The smart move is pairing the two tests: bend first, then confirm with the toothpick. If both agree, you’re golden. If the bend looks close but the toothpick meets resistance, give it another 15 minutes and retest. Using two signals before you pull is the habit that separates consistent cooks from lucky ones.
Bone Pullback and Other Visual Cues
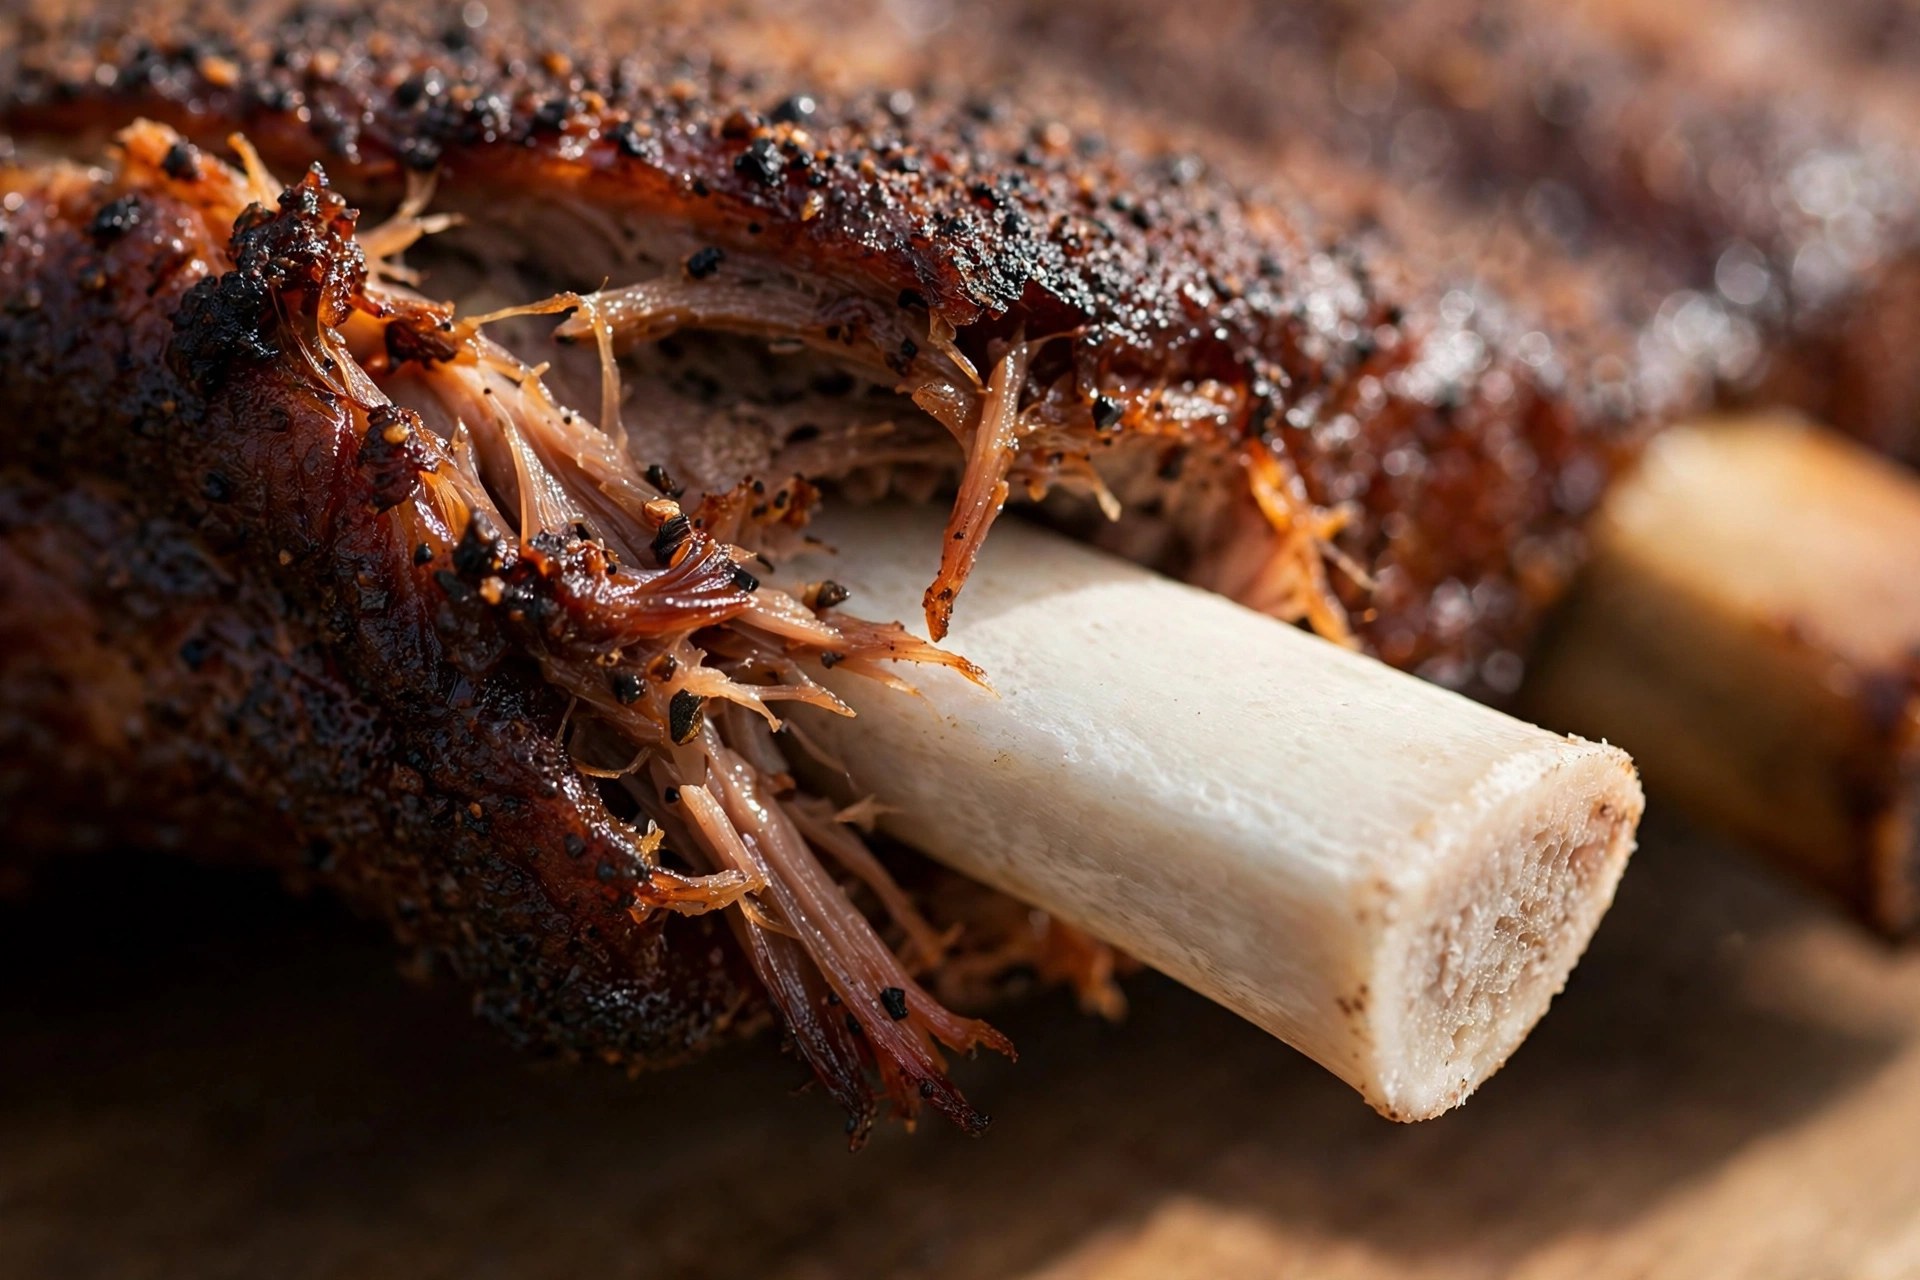
While the rack cooks, the meat shrinks and pulls back from the bone tips, exposing the clean white ends. When ribs are done, you’ll typically see ¼ to ½ inch of bone showing. This is the cue most beginners know — and the one most likely to mislead you on its own.
Pullback is a supporting cue, not a verdict. Dry heat, hot spots on the grate, and thin ends can all produce early pullback before the meat is actually tender. Treat it as backup evidence for what the bend and toothpick tell you.
Other visuals worth knowing:
- Color. Finished ribs take on a deep mahogany color. Don’t rely on color alone — rubs and smoke change the shade — but pale, grayish ribs are definitely not done.
- The “Himalayas” effect. As collagen melts, the top surface sags between the bones, forming little peaks and valleys. That wavy top is a sign the meat has softened.
- Bark set. The surface should look set and slightly dry, not wet or tacky. If sauce is involved, remember that glaze hides surface cracks — lean harder on the toothpick test for sauced racks.
| Doneness test | What to do | What “done” looks like | Reliability |
|---|---|---|---|
| Bend test | Lift the rack from the center with tongs | Soft U-shape with a light bark crack, no tearing | High — best single test |
| Toothpick test | Push a skewer between the bones | Slides in with almost no resistance | High — best confirmation |
| Bone pullback | Look at the bone tips | ¼–½ inch of clean bone exposed | Medium — supporting cue only |
| Bone twist/tug | Twist a center bone gently | Bone moves with slight resistance, doesn’t tear out | Medium-high |
| Bite test | Take a bite (sacrifice one rib) | Clean bite mark, slight tug, not mushy | High — but costs you a rib |
The Tug and the Bite: Two More Confirms
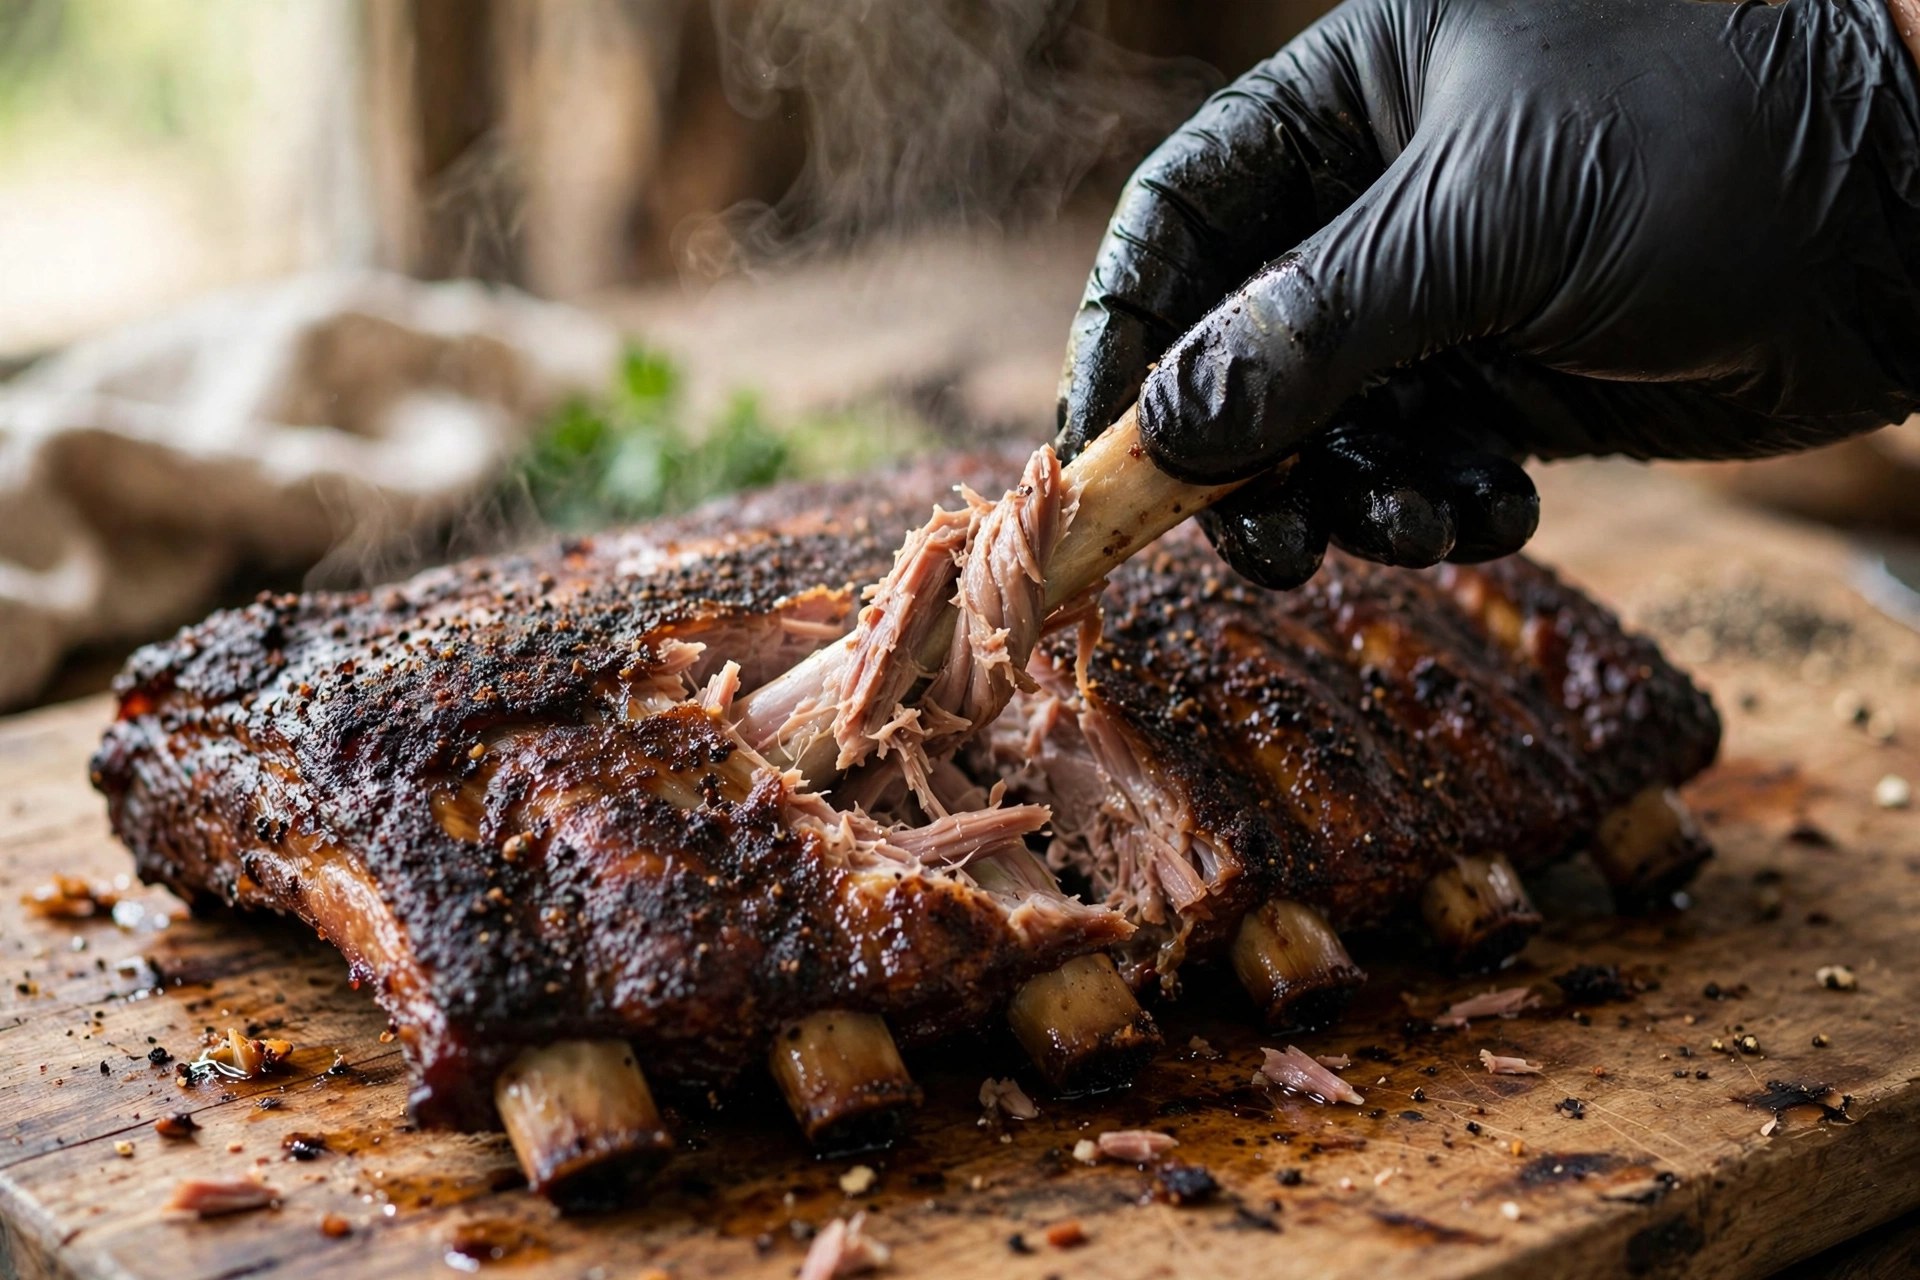
The bone twist. Grab a bone near the center of the rack with tongs and give it a gentle twist. On done ribs, the bone wiggles with slight resistance but doesn’t tear free. If it twists out completely clean, the ribs are overcooked — past tender and into fall-apart. If it won’t budge, they need more time. This is the same principle as the wiggle-bone check on a pork butt, just applied to a smaller package.
The bite test. The final arbiter, and the one competition judges actually use. Bite into a rib: the meat should come off the bone with a clean bite mark and a slight tug — not slide off at a glance (overcooked), and not fight your teeth (undercooked). Competition barbecue specifically wants bite-through, not fall-off-the-bone; mushy ribs actually lose points. For the backyard, cook to whatever texture your crowd likes — but know that “fall off the bone” is technically a small overshoot.
If you’re cooking wet vs dry ribs, note that sauced racks read softer in every test. Sugar in the sauce caramelizes and the wet surface flexes more easily, so confirm sauced ribs with the toothpick test rather than the bend alone.
When to Start Testing (and What Changes the Timing)
Feel tests are the finish line, but timing tells you when to walk over and start checking. Use these windows as your cue to pick up the tongs — not as a doneness verdict.
- Baby back ribs at 225–250°F: start bend checks around 3–4 hours in.
- Spare ribs / St. Louis style at 225–250°F: start around 4–5½ hours in.
- Hot-and-fast cooks (275–300°F): start a full hour earlier than the windows above.
Wrapping changes everything. If you wrapped the ribs in foil or butcher paper — the Texas Crutch — tenderness arrives faster, and a freshly unwrapped rack feels deceptively soft from steam. Let the surface vent and dry for 5–10 minutes after unwrapping before you test, or you’ll read steam-soft as done and pull early. Begin bend checks earlier than you would for an unwrapped cook.
For context on how many ribs you’re timing in the first place, a full rack’s rib count affects total cook time less than you’d think — thickness and pit temperature matter far more than the number of bones.
And if your ribs keep finishing tough no matter the timing, check your method against the classic approach: the 3-2-1 method gives you a structured timeline where the feel tests slot in naturally during the final unwrapped phase.
Fixing Undercooked or Overcooked Ribs
Undercooked? This is the easy fix. Stiff bend, resistant toothpick, meat clinging hard to the bone — just keep cooking. Recheck in 15-minute increments. If the bark is already dark and you’re worried about it burning, wrap the rack in foil or butcher paper and finish it wrapped; the bark is set, and wrapping protects it while the inside catches up.
Overcooked? You can’t uncook ribs, but you can still serve them well. Floppy, falling-apart ribs make excellent chopped rib sandwiches, rib tacos, or a pile of saucy rib meat over mac and cheese. For next time, start your bend checks 30 minutes earlier and pull at the first light crack instead of waiting for a deep one.
One persistent myth worth killing: boiling ribs before smoking doesn’t help doneness judgment — it just waters down flavor and gives you a false head start on tenderness that the smoker then has to work around. Low and slow plus the feel tests gets you better ribs with less fuss.
Frequently Asked Questions
Can you use a thermometer on ribs at all?
You can, but only as a rough guide. Probe the thickest meat between bones — around 190–203°F usually lines up with done — and expect different readings at different spots. Use the temperature to know when to start the bend and toothpick tests, then let feel make the final call.
How do you know when baby back ribs are done vs spare ribs?
The tests are the same; the timing differs. Baby backs are leaner and finish in roughly 3–4 hours at 225–250°F; spares take 4–5½ hours. Baby backs also show a more pronounced natural curve, so expect a clearer U-shape in the bend test.
What does “fall off the bone” actually mean for doneness?
Meat falling clean off the bone means the ribs are slightly overcooked by competition standards — the ideal is bite-through, where the meat releases with a gentle tug. For backyard eating, fall-off-the-bone is perfectly enjoyable; just know it arrived a little past the sweet spot.
Do the feel tests work on beef ribs?
No — the bend test is for pork ribs only. Beef ribs are much thicker and meatier; pitmasters judge them by probe tenderness, checking near 200–203°F in the thickest section between bones, the same way you’d check a brisket.
Why do my ribs look done but taste tough?
Usually one of three things: you called it by pullback or color alone instead of confirming with bend and toothpick, you tested right after unwrapping while steam made them feel soft, or the pit ran too hot and the outside finished before the collagen inside melted. Recheck with two feel tests and give them more low-and-slow time.
Your practical next step: on your next rack, start bend-testing 30 minutes before you think they’re done, confirm with a toothpick between the bones, and pull at the first light crack. Two cooks of doing it deliberately and you’ll read ribs by feel for the rest of your life.
[…] still need grill time for crust, color, and smoke. You still need a thermometer or a bend test to tell when ribs are done. And you have traded away fat and flavor for a tenderness you could have had anyway. Every grilling […]
[…] the best thermometer steps aside for the bend test and the toothpick — which is why we wrote up how to tell when ribs are done without a thermometer. The instrument matters. Knowing when not to use it matters almost as […]