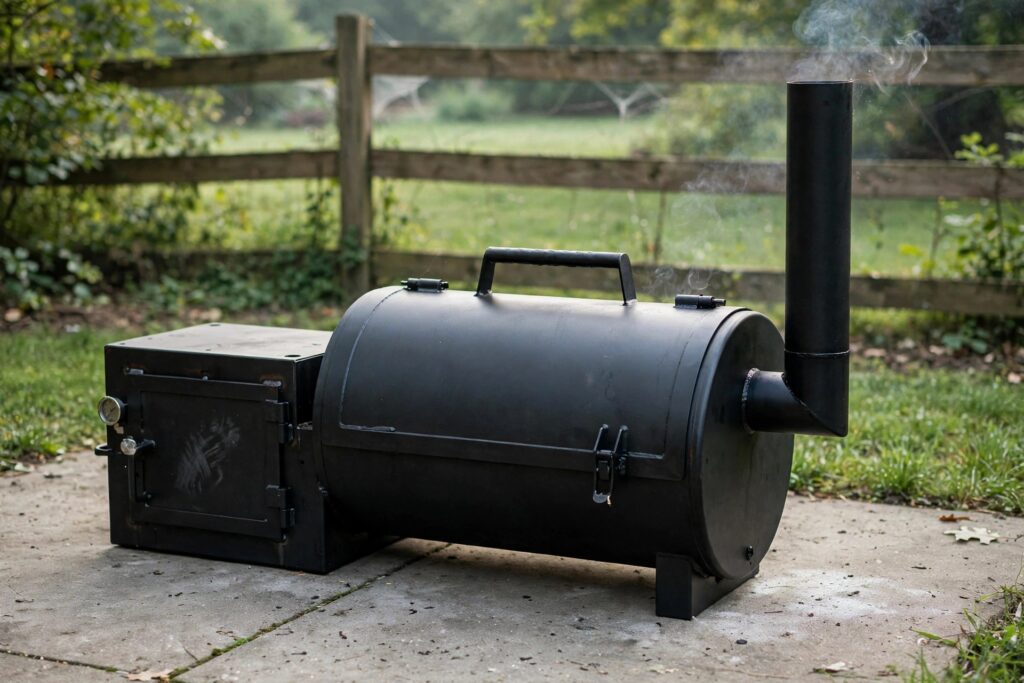
To season a new smoker, coat all interior surfaces with a thin layer of high-heat cooking oil, then run the empty smoker at 275°F for 2–3 hours. The heat burns off manufacturing residues and bakes the oil into a protective, rust-resistant coating. Once it cools completely, your smoker is ready for its first cook.
That’s the whole job in one paragraph. But the details — which oil, what temperature, how long for your specific smoker type, and how to tell when it’s actually done — are what separate a smoker that lasts a decade from one that rusts, flakes, and taints your first brisket with machine-shop funk. Here’s the full process.
What “Seasoning” a Smoker Actually Means
Seasoning a smoker has nothing to do with salt and pepper. It’s the same idea as seasoning a cast-iron skillet: you coat bare metal with oil and bake it on at high heat so the oil polymerizes — hardens — into a protective layer bonded to the metal. That layer does two jobs: it keeps moisture off the steel so rust can’t start, and it gives you a smooth, slightly non-stick interior that gets better with every cook.
Some people call it “curing” or “pre-seasoning.” Same process, same purpose. And note: seasoning a smoker is not the same as the flavor patina that builds up over years of cooking. The oil coating is the base layer; the dark, smoky character of a well-used pit builds on top of it. You can’t skip the base and expect the patina to do the work — it needs something to stick to.
Why Skipping This Step Wrecks Your First Cook
Every new smoker arrives coated in manufacturing leftovers: anti-rust shipping oils, metal dust, solvents, adhesives, and sometimes paint overspray. That thin coat of shipping oil keeps the steel from rusting in the warehouse — it is not food-safe, and its chemical-petroleum taste will transfer to your food. If your first cook on a brand-new smoker tastes faintly like a garage, this is why. A full hot seasoning burn takes the whole cooking chamber past the temperature where those residues vaporize, while simultaneously laying down the oil coating. Two problems, one fire.
There’s also a rust angle. Bare steel starts oxidizing the moment it meets humid air, and a smoker lives outdoors. The oil layer you bake on during seasoning is the first line of defense. Skip it and the inside of your firebox and cooking chamber can start spotting with rust within weeks in a humid climate. Rust flakes, pits the metal, and shortens the smoker’s life by years.
A dirty cooking chamber also gives dirty results — the same acrid, ashy flavors covered in our guide to why smoked meat tastes bitter. Clean metal, clean smoke, clean flavor.
The Right Oil for the Job
Any seasoning oil needs one quality above all: a high smoke point. The oil has to survive 275°F-plus heat long enough to bond to the metal instead of burning off into bitter carbon. Here’s how the common options stack up:
| Oil | Smoke point | Verdict for seasoning |
|---|---|---|
| Canola oil | ~400°F | The workhorse. Cheap, neutral, high enough for any seasoning temperature. |
| Vegetable / soybean oil | ~400–450°F | As good as canola and usually the cheapest option. |
| Grapeseed oil | ~420°F | Excellent but pricier — no real advantage over canola here. |
| Avocado oil | ~520°F | Highest smoke point, but overkill. Save it for cooking. |
| Flaxseed oil | ~225°F | Forms a very hard coat, but the low smoke point makes it finicky. |
| Olive oil | ~375°F (EVOO lower) | Skip it — too low a smoke point, wrong tool for this job. |
Practical advice: buy canola or plain vegetable oil and don’t overthink it. Cooking spray works too — it’s the same oil with a propellant — and it’s genuinely useful for getting an even coat on grates and hard-to-reach corners. BBQ Journey’s seasoning guide lands in the same place: high-heat, neutral oil, thin coat. For a full-size offset, about half a cup of oil total is plenty — the surface should look wet, never dripping. Pooled oil doesn’t bond; it turns into sticky varnish.
How to Season a New Smoker: The Full Process
Set aside half a day. The active work takes under an hour; the burn and cool-down do the rest. Here’s the process, in order:
1. Unpack, assemble, and inspect. Put the smoker together per the manual, then look it over cold: loose bolts, sharp edges, damaged door seals. Fixing a wobbly gasket is easy now and miserable later.
2. Strip out everything meltable. Remove grates, water pans, drip trays, heat deflectors — anything removable comes out, along with stickers, plastic wrapping, zip ties, and digital thermometer probes. Built-in analog thermometers are usually heat-rated and can stay, but check your manual. Anything you doubt, take it out.
3. Wash the interior. Wipe down all interior surfaces, grates, and pans with warm soapy water and a non-abrasive sponge. You’re removing manufacturing oils, fingerprints, and metal dust. Rinse with clean water and dry everything completely — leftover moisture interferes with oil adhesion. If your smoker has a water pan, wash and oil it too.
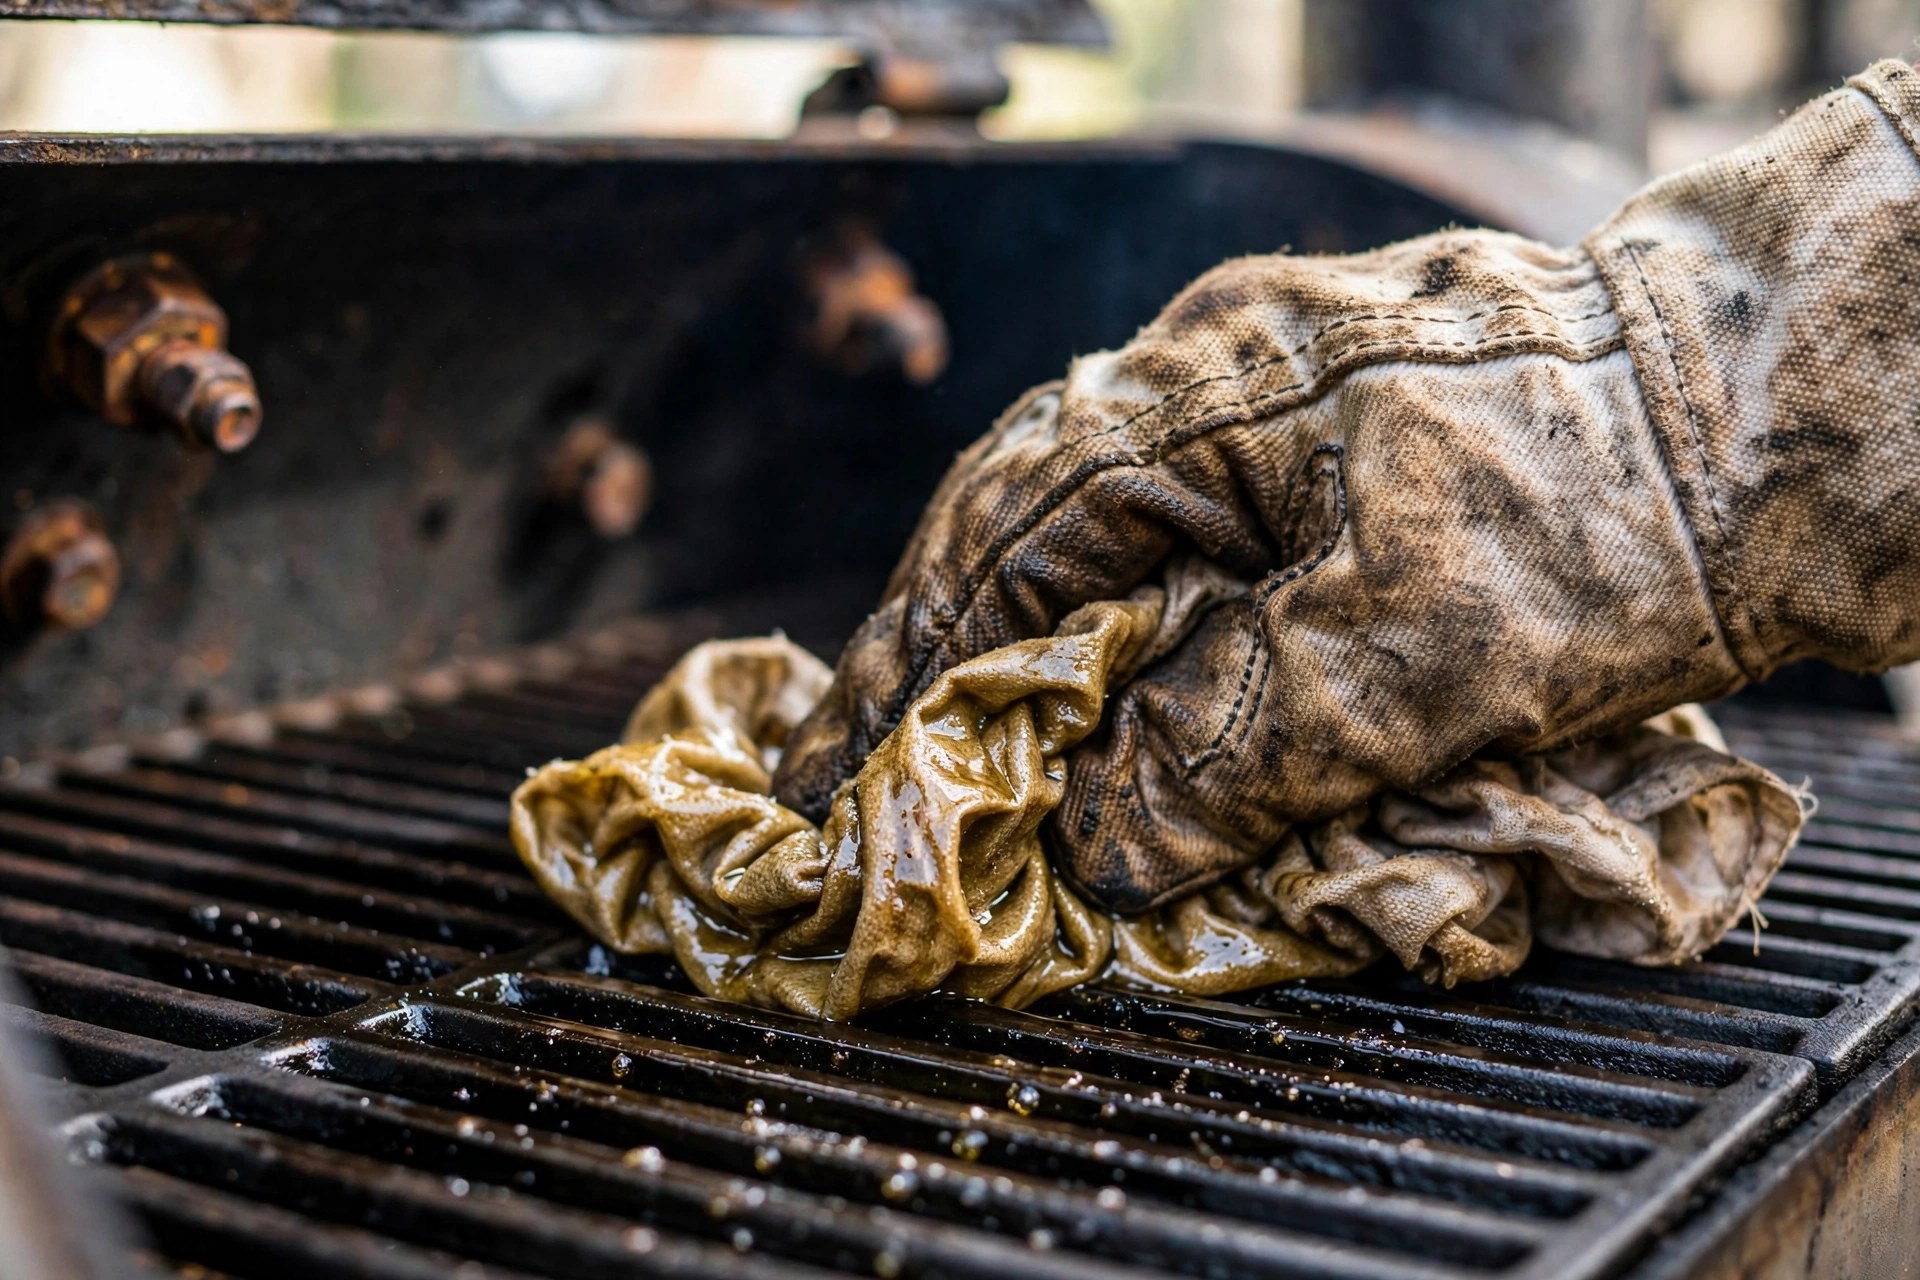
4. Oil every interior surface. With a clean cloth, paper towels, or a grill brush, apply a thin, even coat of oil to the interior walls, lid, firebox interior, grates, racks, water pan, and drip trays. Don’t forget the inside of the chimney and door edges. Skip the heating element on electric smokers — oil has no business there.
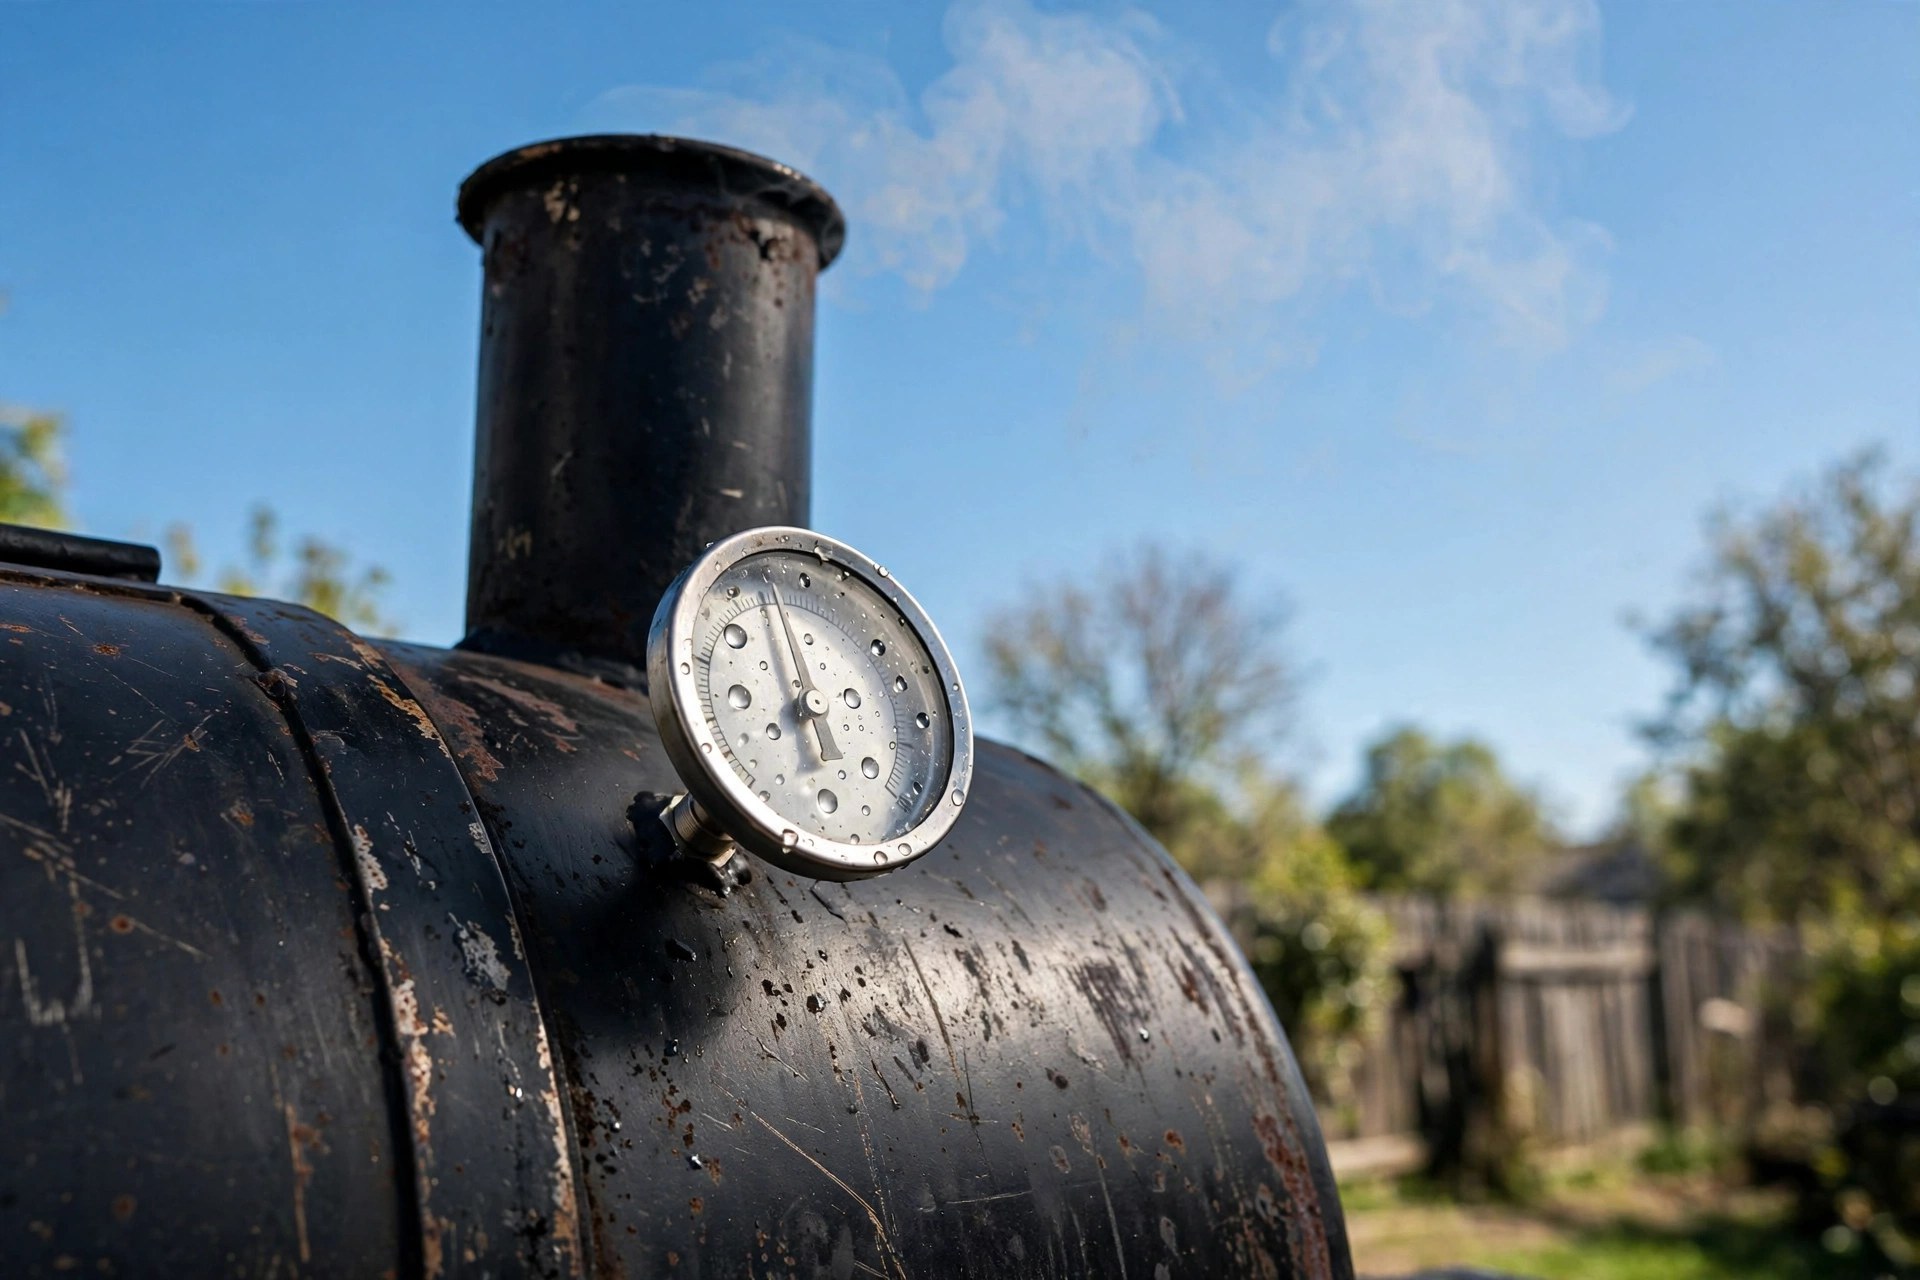
5. Reassemble and fire it up. Put the grates and pans back in. Start the smoker per your manual and bring it to seasoning temperature (see the table below — 275°F is the sweet spot for most). On a charcoal or wood smoker, this doubles as a dry run for learning your vents — a preview of preheating your smoker properly.
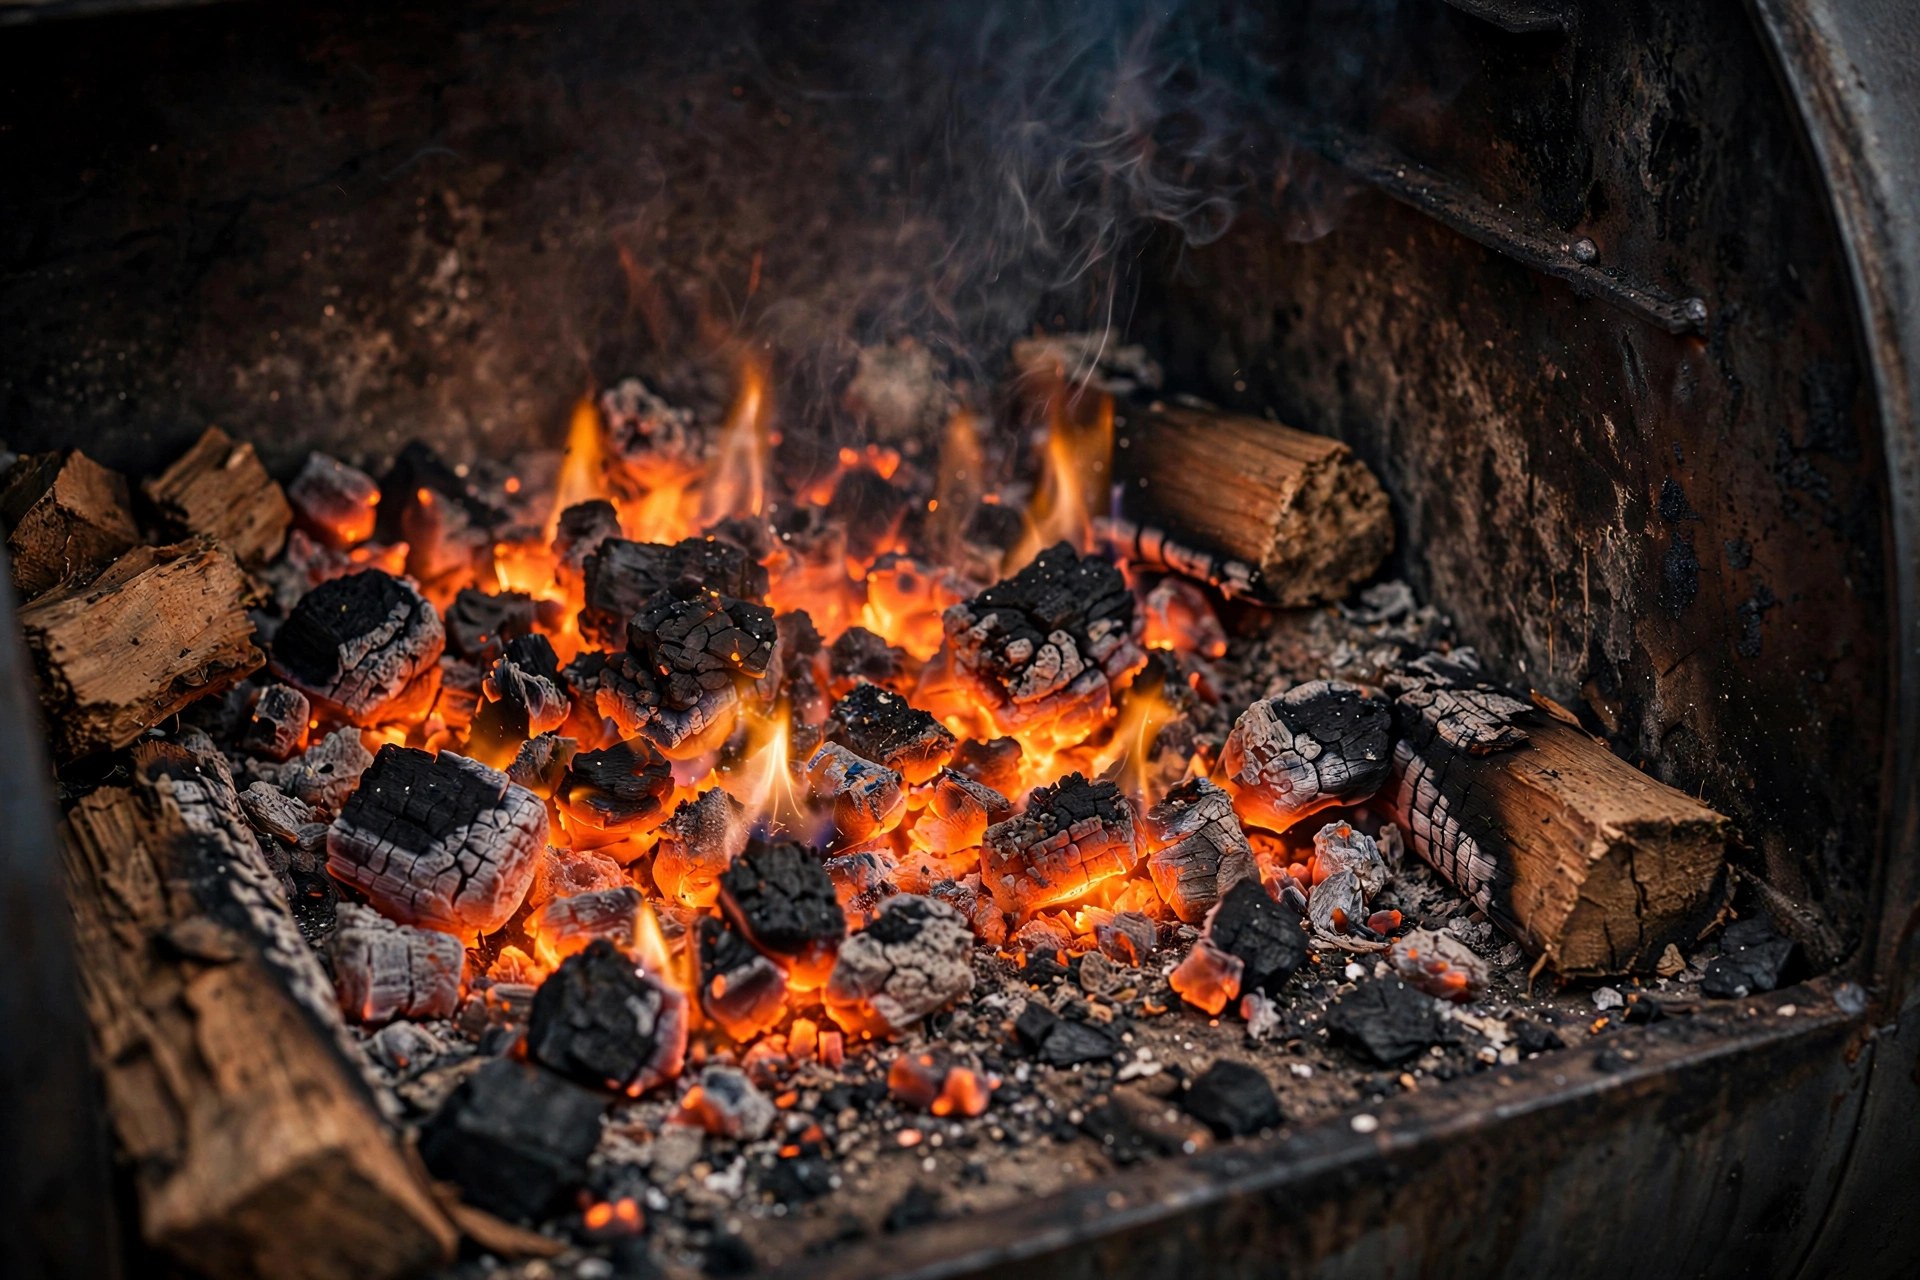
6. Run the burn. Hold temperature steady for the full seasoning time. Expect significant smoke and a strong chemical smell in the first 30–60 minutes — that’s the manufacturing residues burning off, and it’s exactly what you want to happen. Don’t be alarmed. Do this outdoors with decent ventilation, not pressed against the house.
7. Optional: add mild wood. During the last 30–45 minutes, toss in a few chunks of mild wood like oak or apple. This doesn’t season the metal — the oil does that — but it drives out the last chemical smell and leaves the chamber smelling like a smoker instead of a factory. Light woods only; save the hickory for actual food.
8. Cool completely, then wipe down. Shut the smoker down and let it cool all the way to ambient temperature — the coating is still curing as it cools, so don’t rush it. Once cool, give the interior a light wipe with a dry cloth to remove loose particles. Your smoker is seasoned.
All in, it’s typically 4–6 hours wall-clock: about an hour of prep, 2–4 hours of burn, and the cool-down. Plan it for a day when you’re around the house anyway.
Seasoning Times and Temperatures by Smoker Type
Not every smoker seasons the same way. The principle is identical — oil plus sustained heat — but the temperature and duration that work best depend on the design:
| Smoker type | Temperature | Duration | Notes |
|---|---|---|---|
| Offset / stick burner | 250–275°F | 2–4 hours | Run until a full load of charcoal burns to ash; add mild wood near the end if you like |
| Pellet grill | 350–400°F | 1–2 hours (after startup) | Fill the hopper, run the startup cycle first, then hold high heat; oil the grates and interior |
| Electric smoker | 275°F | 2–3 hours | Add wood chips in the last 45 minutes; never oil the heating element |
| Gas / propane smoker | High setting (~300°F+) | ~1 hour | Add wood chips in the last 30 minutes; shortest seasoning of the bunch |
| Kamado / ceramic | 300–350°F | 1–2 hours | Most kamados arrive with the interior already treated; a light oil wipe and one hot burn is plenty |
| Weber kettle (as smoker) | 275–300°F | 2 hours | Oil the grates and interior bowl; run a full chimney of coals with the vents set for smoking |
Two rules cut across all types: never season above what your manual allows, and if the manufacturer included its own pre-seasoning step (many pellet grills do), follow the manual first and treat this guide as the general-purpose version. When in doubt, the manual wins.
If you’re shopping for your first pit, our best offset smoker picks all assume you’ll season them before the first cook — it’s part of the ownership ritual, not an optional extra.
Did It Work? Checking Your Seasoning and Fixing Problems
The cool-down doubles as your quality check. Let the smoker come fully back to room temperature, then run three tests: smell (faint smoke and hot metal is good; chemical or oily means another hour at 275°F), touch (dry and smooth with a slight sheen — tacky means too much oil), and look (uneven amber-brown is normal; flaking or bare shiny spots are not).
Pass all three and you’re done — your first cook can be whenever you like, though many pitmasters start with something forgiving like pork shoulder rather than a $90 brisket. If something’s off, here’s how to fix the usual suspects. Nearly every seasoning problem traces back to two mistakes: too much oil, or not enough sustained heat.
Sticky or tacky surfaces. The classic symptom of over-oiling. Fire the smoker back up and hold 275–300°F for another hour or two — the extra heat finishes polymerizing the excess oil. Next time, wipe thinner: wet-looking, never dripping.
Flaking or peeling coating. Usually means the surface wasn’t clean before oiling, or the temperature swung wildly during the burn. Scrape off the loose flakes, wipe the bare spots with a thin coat of oil, and run a touch-up burn at 275°F for an hour. Smoked and Brewed’s walkthrough makes the same point: the metal has to be clean for the oil to bond.
Heavy smoke that never seems to clear. Some heavy smoke in the first hour is normal — that’s residues burning off. But if thick white smoke persists for hours, check for a pool of excess oil somewhere (it will smolder), or plastic/sticker material you missed. Remove the culprit, ventilate, and keep going.
Paint or chemical smell that won’t quit. Most factory smells burn off within the first hour. If a paint smell persists after a full burn, you may have interior paint that isn’t rated for heat — check with the manufacturer. Don’t cook on it until this is resolved.
Rust spots appearing weeks later. Small surface rust on a new seasoning usually means a spot got missed or the coat was too thin there. Scrub the spot with a wire brush or steel wool down to clean metal, wipe a thin coat of oil over it, and run a one-hour touch-up burn at 275°F. Catching it early is the whole game — a spot treated now never becomes a hole.
Keeping Your Seasoning Strong
A good initial seasoning is a foundation, not a finish line — heat, smoke, and rendered fat keep building it with every cook. After each cook, brush the grates and empty the ash and drippings, but skip the soap and pressure washer on the interior: a grill brush and a dry or slightly damp cloth are enough. Harsh degreasers strip seasoning right back to bare metal, which means re-seasoning from scratch.
A full re-seasoning is an every-few-years event for most backyard smokers. Re-season when rust spots keep coming back, food sticks to grates that used to release easily, or bare metal shows through after a deep clean. A light touch-up — thin oil coat, one hour at 275°F — once a year on a heavily used pit is reasonable preventative care. Store it covered with a vent cracked slightly so moisture doesn’t get trapped inside.
And here’s something beginners miss: the same fire-management skills that make seasoning work — steady temperatures, thin blue smoke, dry fuel — are the skills behind every future cook. Seasoning day is your first practice session with your new pit. Pay attention to how it heats, how the vents respond, where the hot spots are. By the time the coating is cured, you’ll already know your smoker better than most owners ever will.
Frequently Asked Questions
How long should I season a new smoker before first use?
Plan on 2–4 hours of burn time at 225–300°F (275°F is the sweet spot for most smokers), plus about an hour of prep and a full cool-down — roughly 4–6 hours total. Pellet and electric smokers typically need 2–3 hours; gas smokers can be done in about an hour at high heat.
What is the best oil to season a smoker with?
Canola or plain vegetable oil — cheap, neutral, with smoke points around 400°F, high enough to bond to the metal. Avoid olive oil and butter, which smoke at lower temperatures and leave sticky residues.
Can I cook food right after seasoning my smoker?
Yes, once it has cooled completely. Give the interior a quick wipe with a dry cloth and it’s ready. Many pitmasters make their first cook something forgiving like pork shoulder or chicken thighs.
Do I need to season a new electric or pellet smoker?
Yes. They arrive with the same manufacturing residues, and their metal interiors benefit from the same protective coating. Just keep oil away from the heating element on electrics, and run the manufacturer’s recommended startup cycle on pellet grills first.
How do I know the seasoning actually worked?
Cool the smoker completely, then smell the interior — it should smell like faint smoke and hot metal, with no chemical or oily odor. The walls should feel dry and smooth, not tacky, with an uneven amber-brown color rather than bare shiny metal.
Seasoning a new smoker is the least glamorous part of owning a pit and one of the most important. An afternoon of oil, heat, and patience buys you a rust-resistant cooking chamber, cleaner flavor from the very first cook, and a smoker that gets better with age instead of worse. Get it done this weekend — your first real smoke will taste like it should: meat, fire, and nothing else.